If you came looking for 3d ai maker guidance, this piece explains how to turn a clean PNG logo into a mirrored, raised stamp and prepare it for STL download.
A clean raster logo can become a useful stamp without opening CAD software. This guide covers tracing the PNG, checking narrow features at the finished size, and using stamp mode to mirror the design on a raised block.
The short version
- Start with a clean, high-contrast PNG. Transparent images trace from their alpha channel; other images trace from dark areas.
- Use the threshold control until the preview matches the logo, then invert it if the logo is light on a dark background.
- Set the final width before judging small details. Keep narrow features at least 1 mm wide at the printed size.
- Turn on Stamp mode to mirror the design and raise it on a block. Give the raised part 1.5–3 mm of height, then download the STL.
Why a PNG needs tracing before extrusion
A PNG is a grid of pixels, not a mesh. Before it can become a printable object, the tool has to decide which pixels are solid and which are background. That decision becomes the outline of the stamp.
I use the browser-based SVG to STL tool for this kind of flat logo work. Despite its name, it accepts PNG, JPG and WebP files as well as SVG. It traces the raster image, turns the visible shape into a straight-walled extrusion, and produces a watertight STL without uploading the source file.
This method works best for logos, icons, lettering and silhouettes. It does not turn a flat image into a rounded or sculpted object. Gradients become flat gray, so a logo with solid areas and strong contrast gives a much more predictable outline than a shaded illustration.
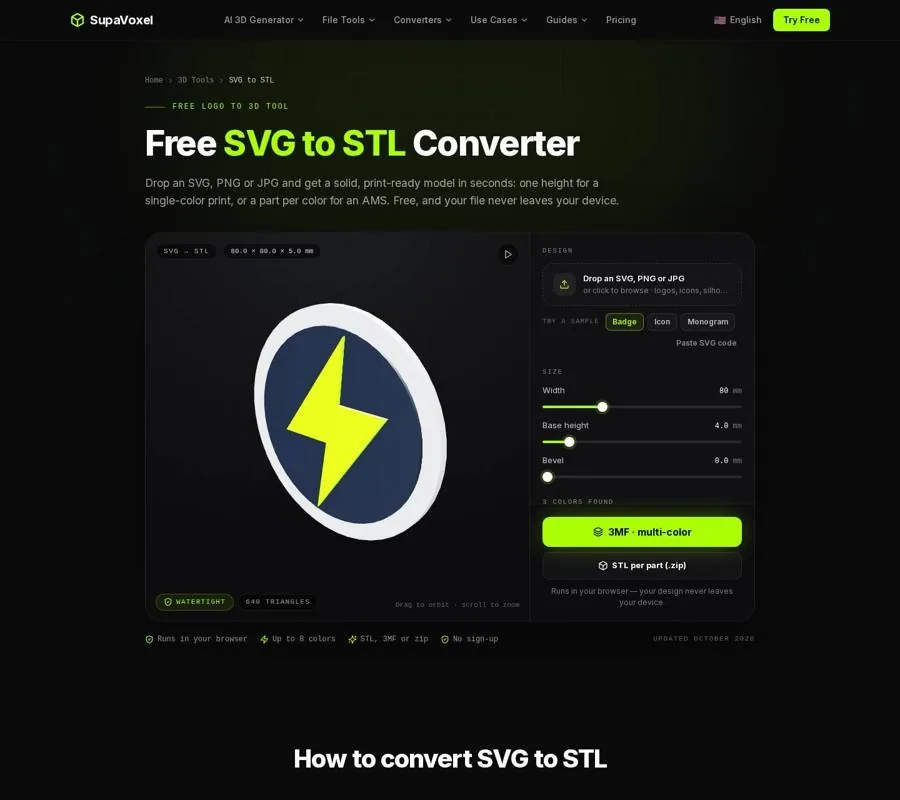
The SVG to STL page shows the image preview, threshold controls, dimensions and stamp settings used to create the printable shape.
Step 1: Start with a clean PNG
Before opening the tool, simplify the artwork as much as possible. Remove shadows, textures and background decoration. The goal is not to preserve every pixel; it is to create a boundary that can be printed and pressed into another material.
The tool accepts files up to 15 MB. A transparent PNG is usually the easiest source because the visible pixels are traced from the alpha channel. If the image has no transparency, the tool traces dark areas instead. A clean, high-contrast image gives the preview a clear starting point.
- Drop the PNG onto the page.
- Wait for the traced preview to appear.
- Move Threshold until the outline matches the intended logo.
- Use Invert for a light logo on a dark background.
Threshold ranges from 0.1 to 0.9. It controls which pixels become solid, so do not judge the result from the source image alone. Watch the traced preview. Small gaps can close, thin lines can disappear, and nearby shapes can join as the threshold changes.
If the preview contains isolated specks, inspect the source image before trying to print. Those specks are not harmless decoration: they become separate raised islands or loose pieces in the stamp. A simplified source image is usually easier to clean than a complicated traced outline.
Step 2: Set the final width before judging detail
The outline may look clear at the size of the browser preview but fail after it is reduced. Set the finished width early, then inspect the thinnest lines at that scale.
The width control runs from 10 to 250 mm, with 80 mm as the default. The height follows the proportions of the design, so changing width changes the final size of every feature. If the stamp is meant for a particular piece of clay, soap, wax or fondant, use that target size rather than leaving the default unchanged.
For reliable printing, keep each important feature at least 1 mm wide at the final size. That is about two lines from a 0.4 mm nozzle. A narrow gap also needs enough room to remain open; otherwise two sides of the logo can merge into one solid area.
Look especially closely at:
- Interior holes in letters such as O, A or P
- Thin diagonal strokes
- Corners where several lines meet
- Small gaps between separate parts of the logo
- Fine points on stars, arrows or badges
The depth control runs from 0.6 to 30 mm. For a stamp, the raised part should be substantial enough to make a clean impression without making the design unnecessarily tall. The page recommends 1.5–3 mm for the raised part. The bevel control can chamfer the top edge from 0 to 1 mm, but it affects the top edge only, so it will not repair a line that vanished during tracing.
If the logo contains pieces that should remain attached, use a plate or outline base. The base options are None, Plate and Outline, with a base thickness from 1 to 8 mm. A plate gives the design a rounded rectangle; an outline follows the shape. For a stamp, choose a base when disconnected elements need to stay together as one handle or block.
Step 3: Turn on Stamp mode
A normal extrusion raises the logo in the same orientation as the source. That is useful for badges and signs, but a stamp needs the impression to read correctly after pressing.
Turn on Stamp mode after the outline and size look right. The tool mirrors the design and raises it on a block. When the printed part is pressed into clay, soap, wax or fondant, the impression comes out the right way round.
Check the mirrored preview carefully. Familiar lettering can look wrong at first because it is reversed, but that reversal is intentional. The important check is whether the raised areas and cut-in spaces are in the right places for the finished impression.
A few practical points help:
- Keep the design flat and readable before mirroring.
- Make sure separate logo elements are connected to the block or to a base.
- Use the raised height range of 1.5–3 mm for the impression surface.
- Avoid relying on tiny surface details that are already close to the 1 mm minimum.
- Remember that Stamp mode changes orientation; it does not create rounded lettering or a curved surface.
The result is still an extrusion with straight walls. That is an advantage for a simple logo because the outline stays faithful to the source, but it is not the right process for a sculpted emblem or a model with domed surfaces.
Step 4: Inspect and download the STL
When the preview is correct, download the single-color STL. The page checks generated files as closed, manifold solids and shows a watertight confirmation under the preview. It also shows the triangle count, which is useful for spotting an unexpectedly complicated trace.
I make one more check before slicing with the STL Viewer. It opens the STL in a browser, lets me orbit and zoom around the model, and shows the bounding-box dimensions. Toggle wireframe to inspect the outline and clay mode to look for odd spikes, missing sections or faceting that is hard to see in a colored preview.
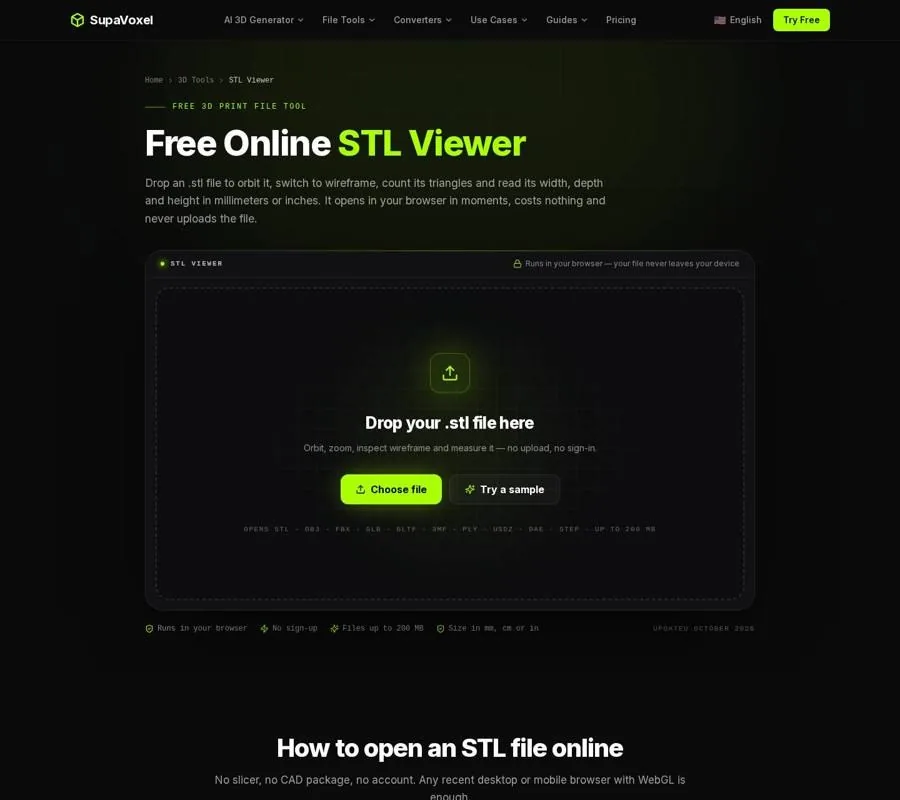
The STL Viewer shows the stamp geometry, wireframe, triangle count and bounding-box dimensions before slicing.
STL has no unit field. The viewer reads the file numbers as millimeters, the convention used by slicers, and can display the dimensions in millimeters, centimeters or inches. Check the width and height against the value chosen in the converter. If the model is unexpectedly tiny or large, correct the scale in the slicer before printing.
For the print itself, place the flat side down as exported and use 0.2 mm layers. The exported orientation is intended for that placement. After slicing, inspect the first layer and the raised design in the preview. The viewer is useful for geometry and size, but it does not replace a slicer because it does not show supports, layers or print time.
When a stamp is not the right format
A stamp is best when the goal is a flat logo impression. If the real project is a hanging tag, use the custom keychain maker instead. It accepts a logo image, builds in a border and ring hole, and produces a keychain with a raised logo. It also offers a two-color 3MF when the base and raised element need separate parts.
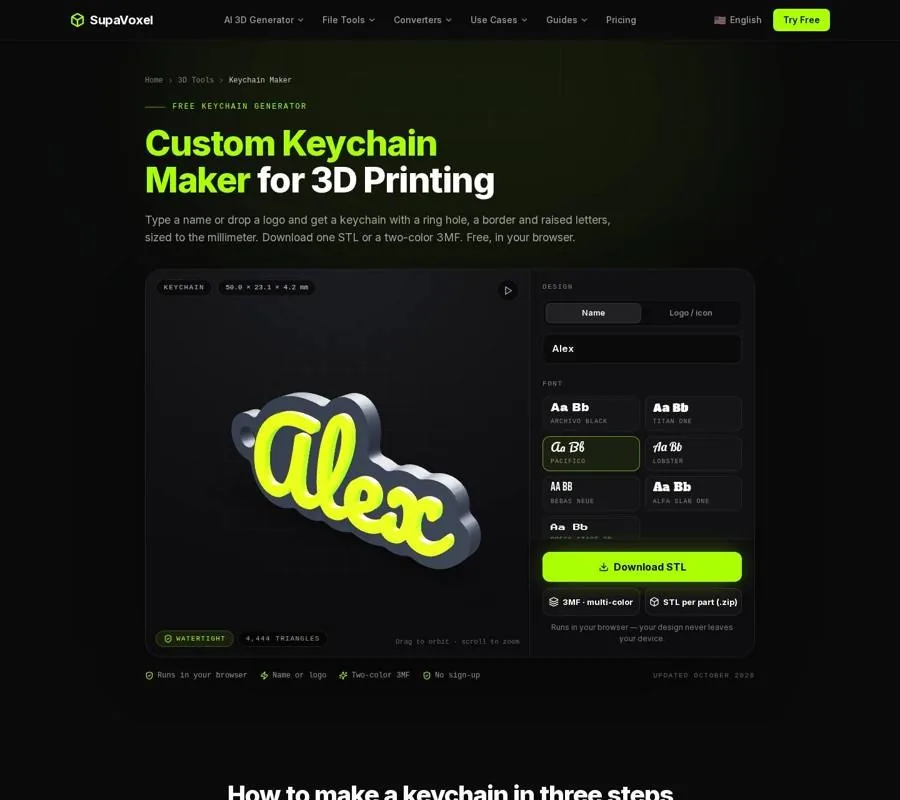
The Keychain Maker is intended for a finished hanging tag rather than a mirrored impression block.
If the goal is to cast a three-dimensional object, a stamp is also the wrong geometry. The STL mold maker carves a model into two printable mold halves with alignment keys and a pour hole. That suits resin, plaster, wax, soap or silicone casting, while Stamp mode suits pressing a raised logo into a softer surface.
FAQ
Why does my PNG trace look filled in?
The tool traces transparent images from visible alpha pixels and opaque images from dark areas. Move Threshold until the preview matches the source, then use Invert if the logo is light on a dark background. Gradients are flattened, so a high-contrast source works best.
How thin can a logo feature be?
Keep important features at least 1 mm wide at the final size. This is about two lines from a 0.4 mm nozzle. Set the finished width first, then inspect thin strokes, gaps and letter openings in the preview.
Should I download an STL or use Stamp mode?
Download the STL when the geometry is ready for slicing. Turn on Stamp mode before downloading if the logo needs to be mirrored and raised on a block for pressing into clay, soap, wax or fondant.