Readers using 3d ai maker to prepare models for printing will find a clear path from a Sloyd GLB to an STL, with checks for scale, orientation, open surfaces, and fragile geometry before slicing.
You have a Sloyd GLB on your computer and want to put it in a slicer. The conversion is straightforward, but a correctly scaled STL can still contain open surfaces, floating pieces or walls too thin to print.
The short version
- Start with a Sloyd GLB you were allowed to download; Sloyd Guest does not let you export your own AI-generated models.
- Convert from GLB to STL with the units and upright orientation checked before downloading.
- Inspect the STL for open edges, disconnected parts and fragile geometry. Conversion changes the format; it does not make a screen asset printable.
- Repair mesh defects, then check the result in your slicer at the intended print size.
Start with the file you can export
If your Sloyd model is already a GLB, keep that original alongside the STL you make from it. The GLB preserves information that STL cannot, including materials and textures. It also gives you a reference if the converted shape looks wrong.
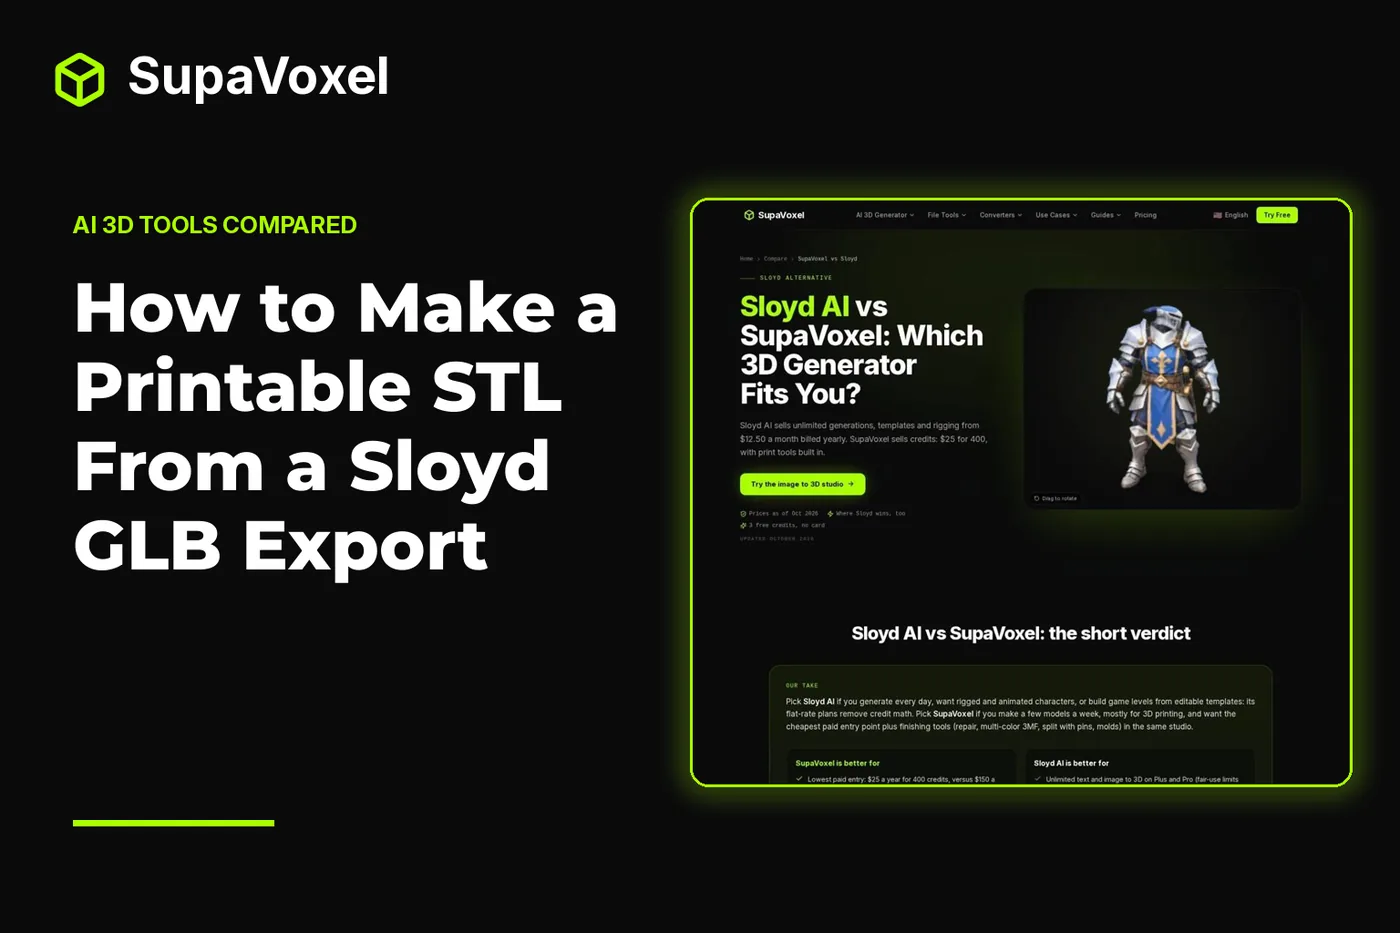
There is a plan distinction worth checking before you begin. As of November 2026, Sloyd Guest permits exports of community models, not the AI models you generate yourself; exporting your own work requires a paid plan. The Sloyd AI printing comparison sets out that distinction and the available print-prep options if you are deciding how to handle future models.
Sloyd’s paid printing mode can export STL directly. If you have that file, you do not need to convert its GLB as an intermediate step. The workflow below is for a GLB you have already downloaded—particularly useful when you want to control its scale and orientation yourself, or diagnose why a converted file will not slice.

The comparison page distinguishes Sloyd’s export access from the print-finishing tools available in SupaVoxel’s paid plans.
Convert the GLB at the size you mean to print
GLB and STL describe triangles, but they do not communicate size to a slicer in the same way. The glTF standard uses meters. STL stores no units, and slicers generally interpret its coordinates as millimeters. Copying the coordinates without converting units can turn a model meant to be hand-sized into a speck. Axes matter too: GLB normally uses Y-up, while printing workflows expect Z-up.
The browser-based GLB to STL converter addresses both issues. It is free to use, runs on your device and shows the proposed output dimensions before you save the STL.
- Open the GLB. Drop the file into the converter or choose it from your device. It can decode GLBs with Draco or Meshopt geometry compression.
- Read the size in millimeters. Do not assume that a technically correct unit conversion gives you the desired print size. If the preview is too large, use the scale control or the option to scale the model to 100 mm tall. If the source was authored in centimeters rather than the glTF-standard meters, change the file-units setting and read the updated dimensions.
- Keep the printing orientation on. The default Z-up setting rotates the model, centers it and places its lowest point on the bed. Inspect the preview anyway: an artist may have modeled the object in an unusual pose.
- Download the STL. Open it in your slicer and confirm the displayed dimensions before adjusting supports or layer settings.
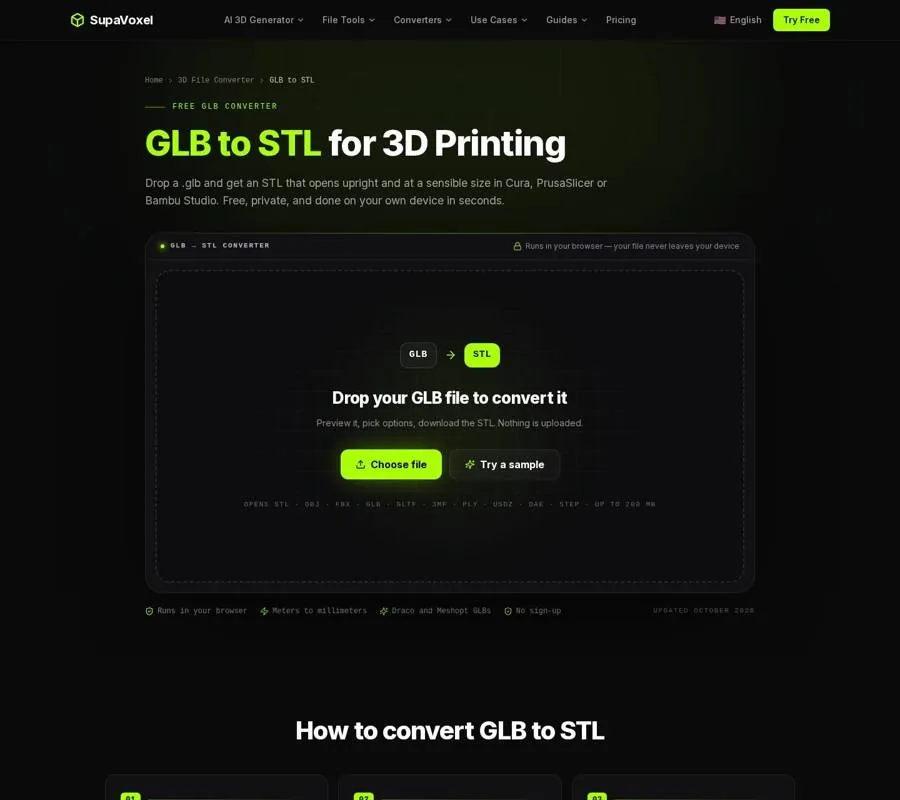
The converter’s size and orientation controls are the important checks before downloading an STL for the slicer.
Understand what the STL does—and does not—contain
This conversion writes the visible triangles from the GLB, with scene transforms applied. It skips hidden nodes and merges separate meshes into the STL output. That last point is easy to misread: having the pieces in an STL does not prove that they touch or form a closed, printable object.
STL also drops texture images, material and vertex colors, UV coordinates, and animation. A painted seam on the GLB will not become an engraved seam in plastic; it was an image on the surface, not a change in the geometry. A rigged character becomes a static mesh in its loaded pose. For a single-color print, losing the color information may be fine. For a model whose appearance depends on painted detail, inspect the bare shape before investing time in cleanup.
Think of conversion as translation, not repair. A thin leaf that looked convincing on screen may still be a sheet with no printable thickness. Separate eyes or teeth may still float away from the head. Neither issue is fixed simply because the slicer can open the STL.
Inspect the mesh, then repair what you can
I make an inspection pass before adding supports. Otherwise, it is too easy to spend time arranging a print that has no valid solid inside it.
- Look for open edges and single-sided surfaces. A printable solid needs a defined inside and outside. In a manifold mesh, edges join faces consistently to enclose a volume. An open boundary or faces joined in an ambiguous way leave the slicer to guess what should be filled.
- Check that intended parts connect. The converter can place multiple visible meshes in the STL, but disconnected shells may print as loose pieces—or disappear if they are too small. Zoom in where accessories, hair or facial details meet the main body.
- Judge thin features at the final scale. Scaling down reduces every wall and connection along with the overall height. A feature that exists in the mesh can still be too slight for the chosen printer and settings.
- Repair mesh defects and inspect again. If the slicer reports open edges, the free standalone STL repair tool on SupaVoxel can close holes and correct flipped faces. Reopen the repaired result and check that the fix did not obscure a detail you meant to keep.
Repair cannot make every design suitable for printing. Closing a hole is different from giving a paper-thin surface usable thickness, joining floating parts or making a narrow connection strong enough to handle. Those problems may require changing the model or printing it larger. Treat a repair result as a new file to evaluate, not a certificate of printability.
Slice the result, not just the silhouette
Once the STL looks closed, inspect the slicer’s actual output. Confirm that the object rests as intended on the build plate and that its displayed dimensions still match your target. Then examine the sliced layers around the most vulnerable areas: narrow joints, projecting details and places where separate meshes appeared to meet.
A smooth solid-view preview can conceal trouble. A painted feature may vanish because STL has no texture; a geometric feature may vanish because it is too thin at the selected scale. If the slicer drops a detail, decide whether increasing the print size, changing the model or omitting that detail is the better fix. Supports can hold an overhang during printing, but they cannot turn an open sheet into a solid wall.
Save the GLB, converted STL and any repaired STL separately. That way, if a later edit causes a problem, you can tell whether it came from the source geometry, the conversion settings or the repair.
If you need a different starting workflow
You do not have to replace a usable Sloyd export to print it. But if you repeatedly find yourself fixing generated geometry, compare the finishing workflow, not just the rendered model. SupaVoxel’s repair, plane cuts with connector pins, stand base, molds and multi-color 3MF features for generated models are included in every paid plan from $25 a year, with no extra credits per print-prep step.
If you are also evaluating other image-to-3D generators, the Meshy alternative comparison is useful for checking which print-finishing tasks follow generation; Meshy has a separate STL repair tool, while the compared SupaVoxel paid studio includes cuts with pins. The Tripo alternative comparison helps with a different distinction: Tripo lists part segmentation and 3MF export, but does not list connector pins or a filament-color split. Those distinctions matter when the shape must be assembled or printed in color, not merely displayed on screen.
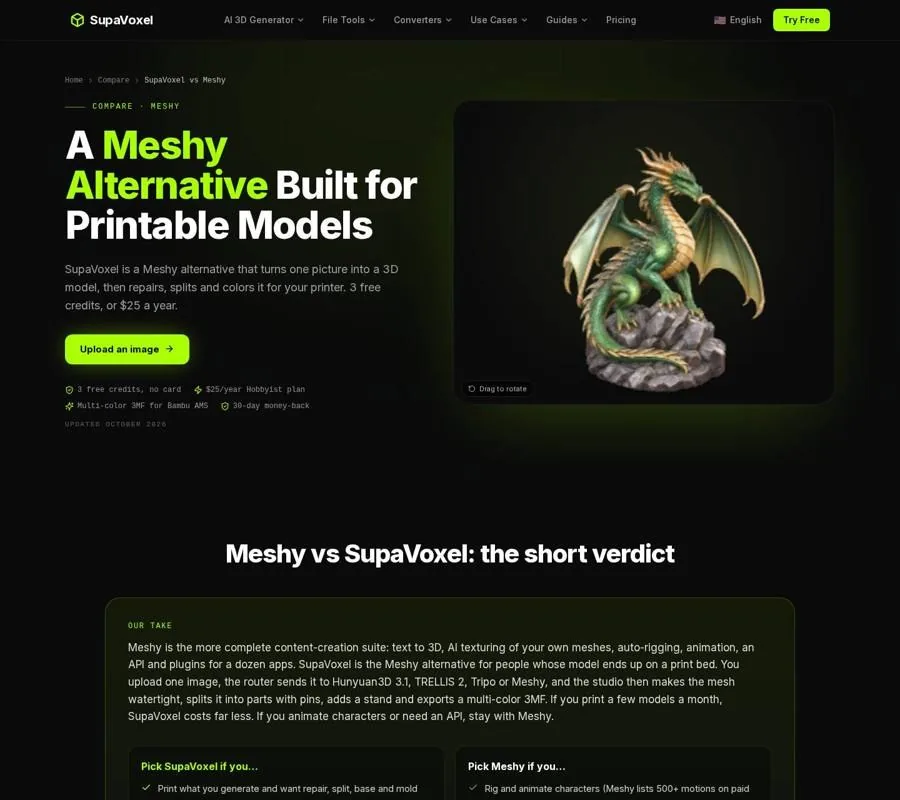
The comparison focuses on what happens after generation, including mesh repair and preparation for printing.
FAQ
Does converting my Sloyd GLB to STL make it watertight?
No. Conversion carries over visible geometry; it does not guarantee a closed solid. Inspect the STL for open edges and disconnected or paper-thin pieces, then repair and recheck it before slicing.
Why is my converted model the wrong size or lying down?
GLB normally uses meters and Y-up; slicers read STL coordinates as millimeters and expect Z-up. Check the converter’s displayed size and leave its Z-up printing option on. If the source was authored with different units or orientation, adjust those settings and inspect the result.
Why did the colors disappear?
STL does not store GLB textures or material colors. The conversion preserves geometry, not painted surface detail. Keep the GLB if you need its appearance for screen use; judge the STL by the shape your printer can actually produce.